Who does not like a good slice of fluffy bread with a crispy crust? I mean, what’s not to like? In our house we go through bread like a horse through water and I bake at least one loaf a week. I test different recipe every time I bake bread and this time I decided to try and make homemade tiger bread.
What is tiger bread?
Apparently tiger bread has Dutch origin. In the Netherlands it goes under the name Tijgerbrood. In other parts of the World this bread is called Dutch crunch or Marco Polo bread. This is according to wikipedia
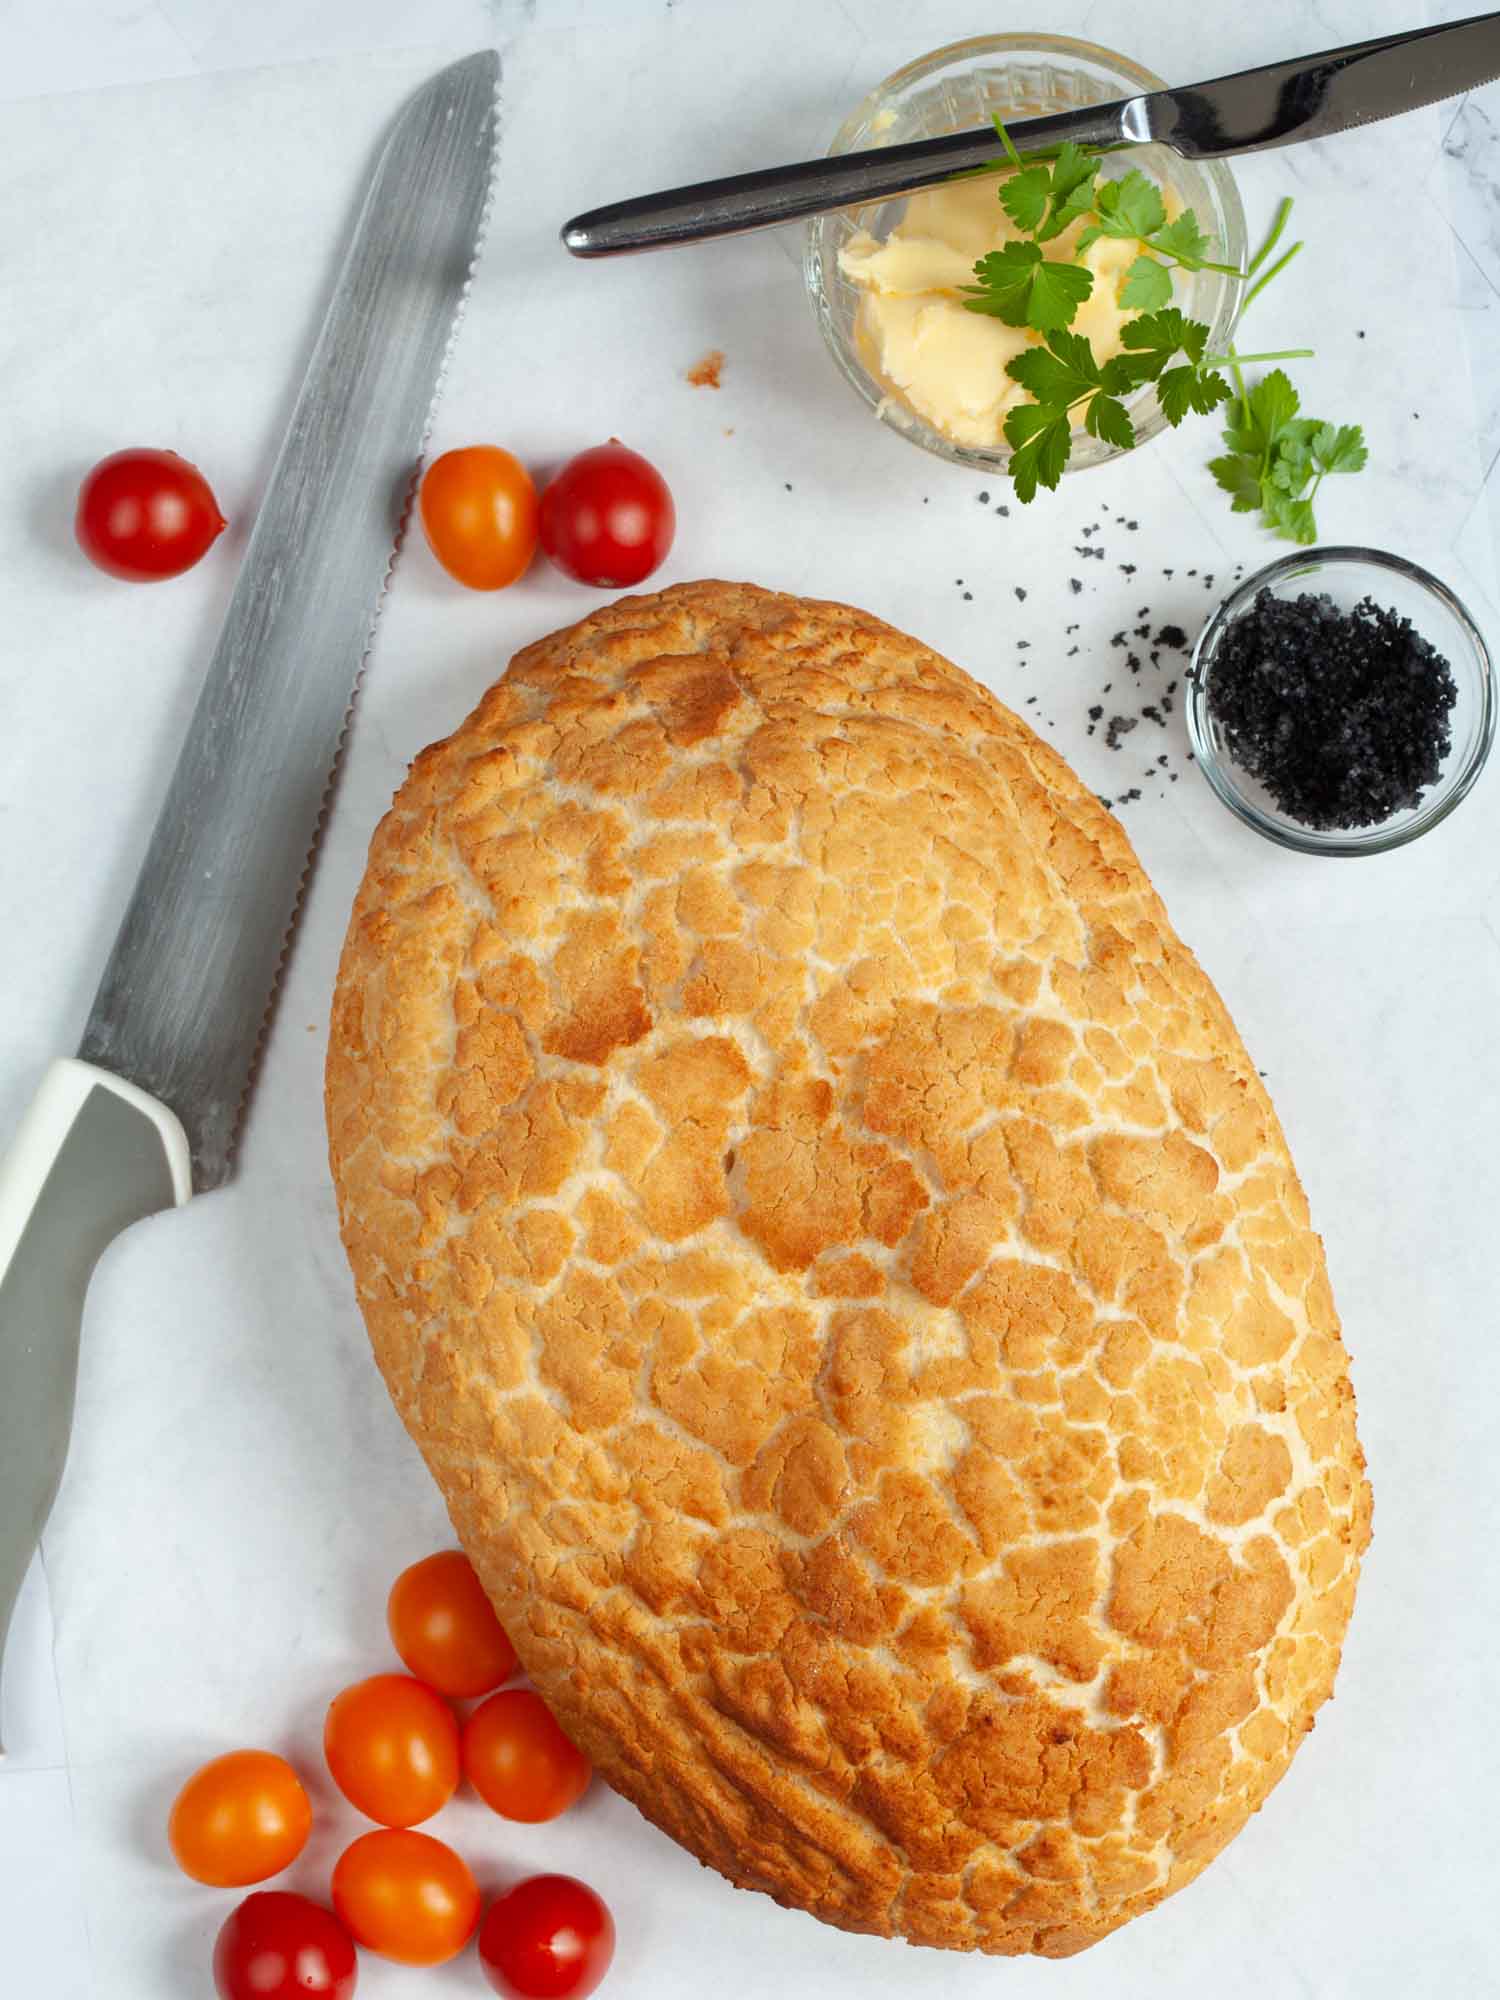
I personally like the name Tiger bread. It is pretty cool. This bread is very different from a standard loaf as it has a crinkled crust on top. This look is achieved by spreading a thick paste made with rice flour, sesame sesame oil and a teaspoon or marmite or Vegimite.
Tips to make homemade tiger bread
- Make sure you activate the yeast in warm water, not hot! Hot water will kill the yeast and your bread will not rise.
- Make sure that the temperature in your kitchen is above 20C, it will help the dough to proof nicely.
- The ratio of water to flour may differ depending on the flour you are using. You may need to adjust and add more water or a little bit more flour to the dough. I would advise adding 1 tbsp (around 10g) of flour at a time to the mix. If you add too much flour, bread will turn our very dense and hard.
- If you do not have rice flour, you can replace it with white rice. Just place rice into a food processor and grind it into a powder.
- Adding sesame oil and Marmite or Vegemite to the rice paste, will give bread this wonderful unique taste Tiger Bread is famous for.
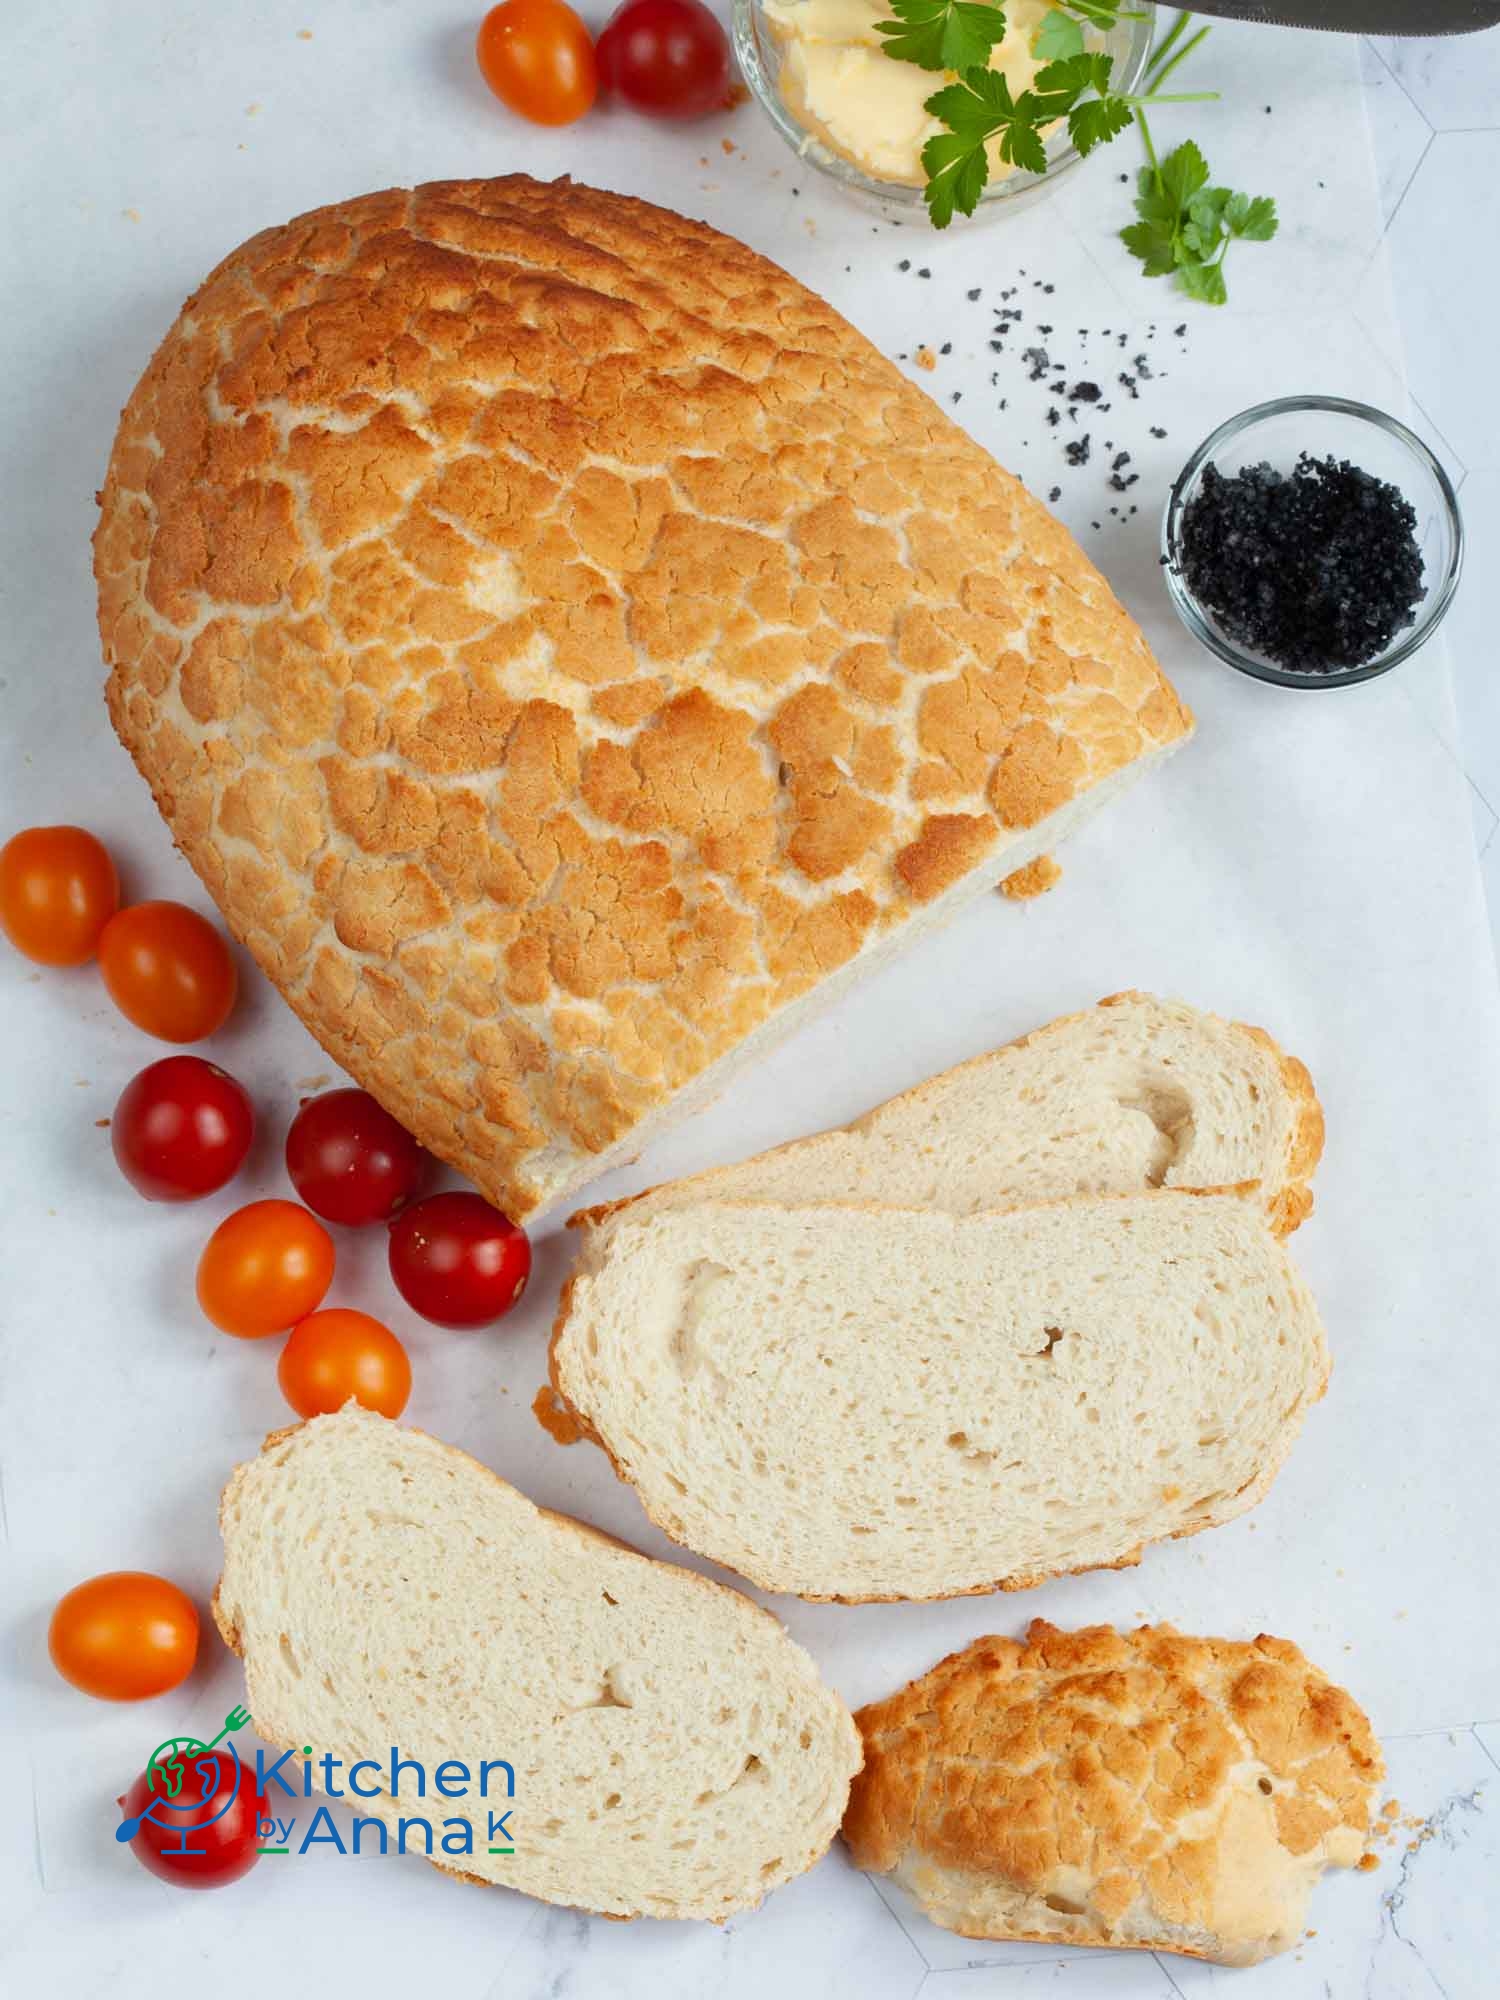
- Now some bad news – the wonderful tiger crust does not stay on the loaf. It will crumble once you start slicing the bread. It will make a lot of mess as well. I know many people were asking if this can be solved and so far, I have no idea. I tried different options but nothing worked out. If you know how to prevent crust from falling off, please let me know in the comment below.
What does homemade tiger bread taste like?
Yes, this homemade tiger bread recipe is definitely the best you will find. The bread is light and pillowy. The crumb is small and soft. The crust is thin but so so sooooo crunchy, beautiful. Do I have to mention that it looks pretty cool to :), just look at this cracked pattern. The addition of sesame oil and Marmite in the crust makes this bread totally irresistible. It creates the salty, umami flavour that is so difficult to describe. You need to taste it.

How to store tiger bread?
You can store this bread in a bread tin for up to a week. Or you can slice it and freeze it for up to a month.
My recipe tiger bread will become your favourite sandwich base, as it is so light and airy. I would not recommend it to dip it in a soup though. Toast or sandwich yes, soup no 🙂 Briefly speaking.
Of course, this is my personal opinion. At the end of the day what you do with your bread is completely up to you!
If you are looking for more bread recipes I can highly recommend you the following:
Cheese and herbs brioche bread
I hope you will make my recipe and if you do, please leave a comment below and let me know your feedback. You can also find me on social media such as Facebook, Instagram, Pinterest, Gab and Gettr. Please say hi and do not forget to tag me in if you make my recipe. I love seeing your creations.
Recipe source – my own.
Eet smakelijk!
Homemade tiger bread
Soft and light bread with delicious and crispy tiger patterned crust

Ingredients
Bread dough
Bread glaze
Instructions
Making bread dough
-
Prepare a baking sheet, line it with baking paper and set aside.
-
In a small bowl add water, sugar and yeast. Stir and let is sit for 15 min until foamy.
-
In a large bowl add flour, salt and yeast mixture, knead for about 15-20 min. (I have used an electric stand mixer. If you are using hands this step may take longer). The dough should be smooth and shiny.
-
I started with 550g of bread flour. It may be different for you depending on kind of flour you use. If dough is very sticky add 10 g of flour at a time. Try to refrain from adding too much flour as your bread will be very dense and hard.
-
Add butter and knead the dough for about 5 minutes. All butter should be fully incorporated.
-
When dough is ready, cover the bowl with a cling film and a kitchen towel and place the bowl in a warm place. You can also place it inside an oven with a light on. Your dough should double in size (usually it takes around 1,5 to 2 h).
-
When dough is ready, tip it on a working surface, sprinkle some flour (only if really necessary) and knead for few minutes to get all the gas out. Leave the dough for 5 min and then knead again for about 2 minutes.
-
Shape the dough into a loaf and place it on the prepared baking sheet.
-
Cover the dough with a kitchen towel and let it rise again for another 25-30 min.
-
Preheat your oven to 200° C fan.
Making rice glaze
-
After you shaped your loaf, prepare the rice glaze. Preparing glaze in advance will help all the ingredients to blend.
-
Mix all the ingredients in a medium bowl and set it aside until needed.
-
When you are ready to bake your bread, spread the rice glaze all over. Use a pastry brush or a silicone brush.
-
Place the dough in the preheated oven.
Baking bread
-
Bake bread for about 35- 40 min, you can check if your bread is ready by tapping bread on top. If the sound is hollow it means that bread is ready.
-
When bread is ready, remove it from the baking sheet right away and let it cool on a cooling rack. This step is important as it will prevent bread from getting soggy.
-
Let bread to cool down completely before slicing.
User Reviews
This recipe doesn’t say when to use the salt in the bread, and when to glaze the loaf! There’s several fundamental points missing from the recipe.
Hi Stevie
Thank you for your comment and for bringing this to my attention. It looks like this recipe was not moved correctly when I was updating my blog theme. I have corrected the recipe, hope it helps.
Have a great day.
Anna K