You are in for a wonderful treat today. I am sharing the best recipe for Polish coconut wafers. The original recipe that has been in my family for ages. This fantastic dessert does not require any baking or advanced cookies skills.
How to make Polish coconut wafers
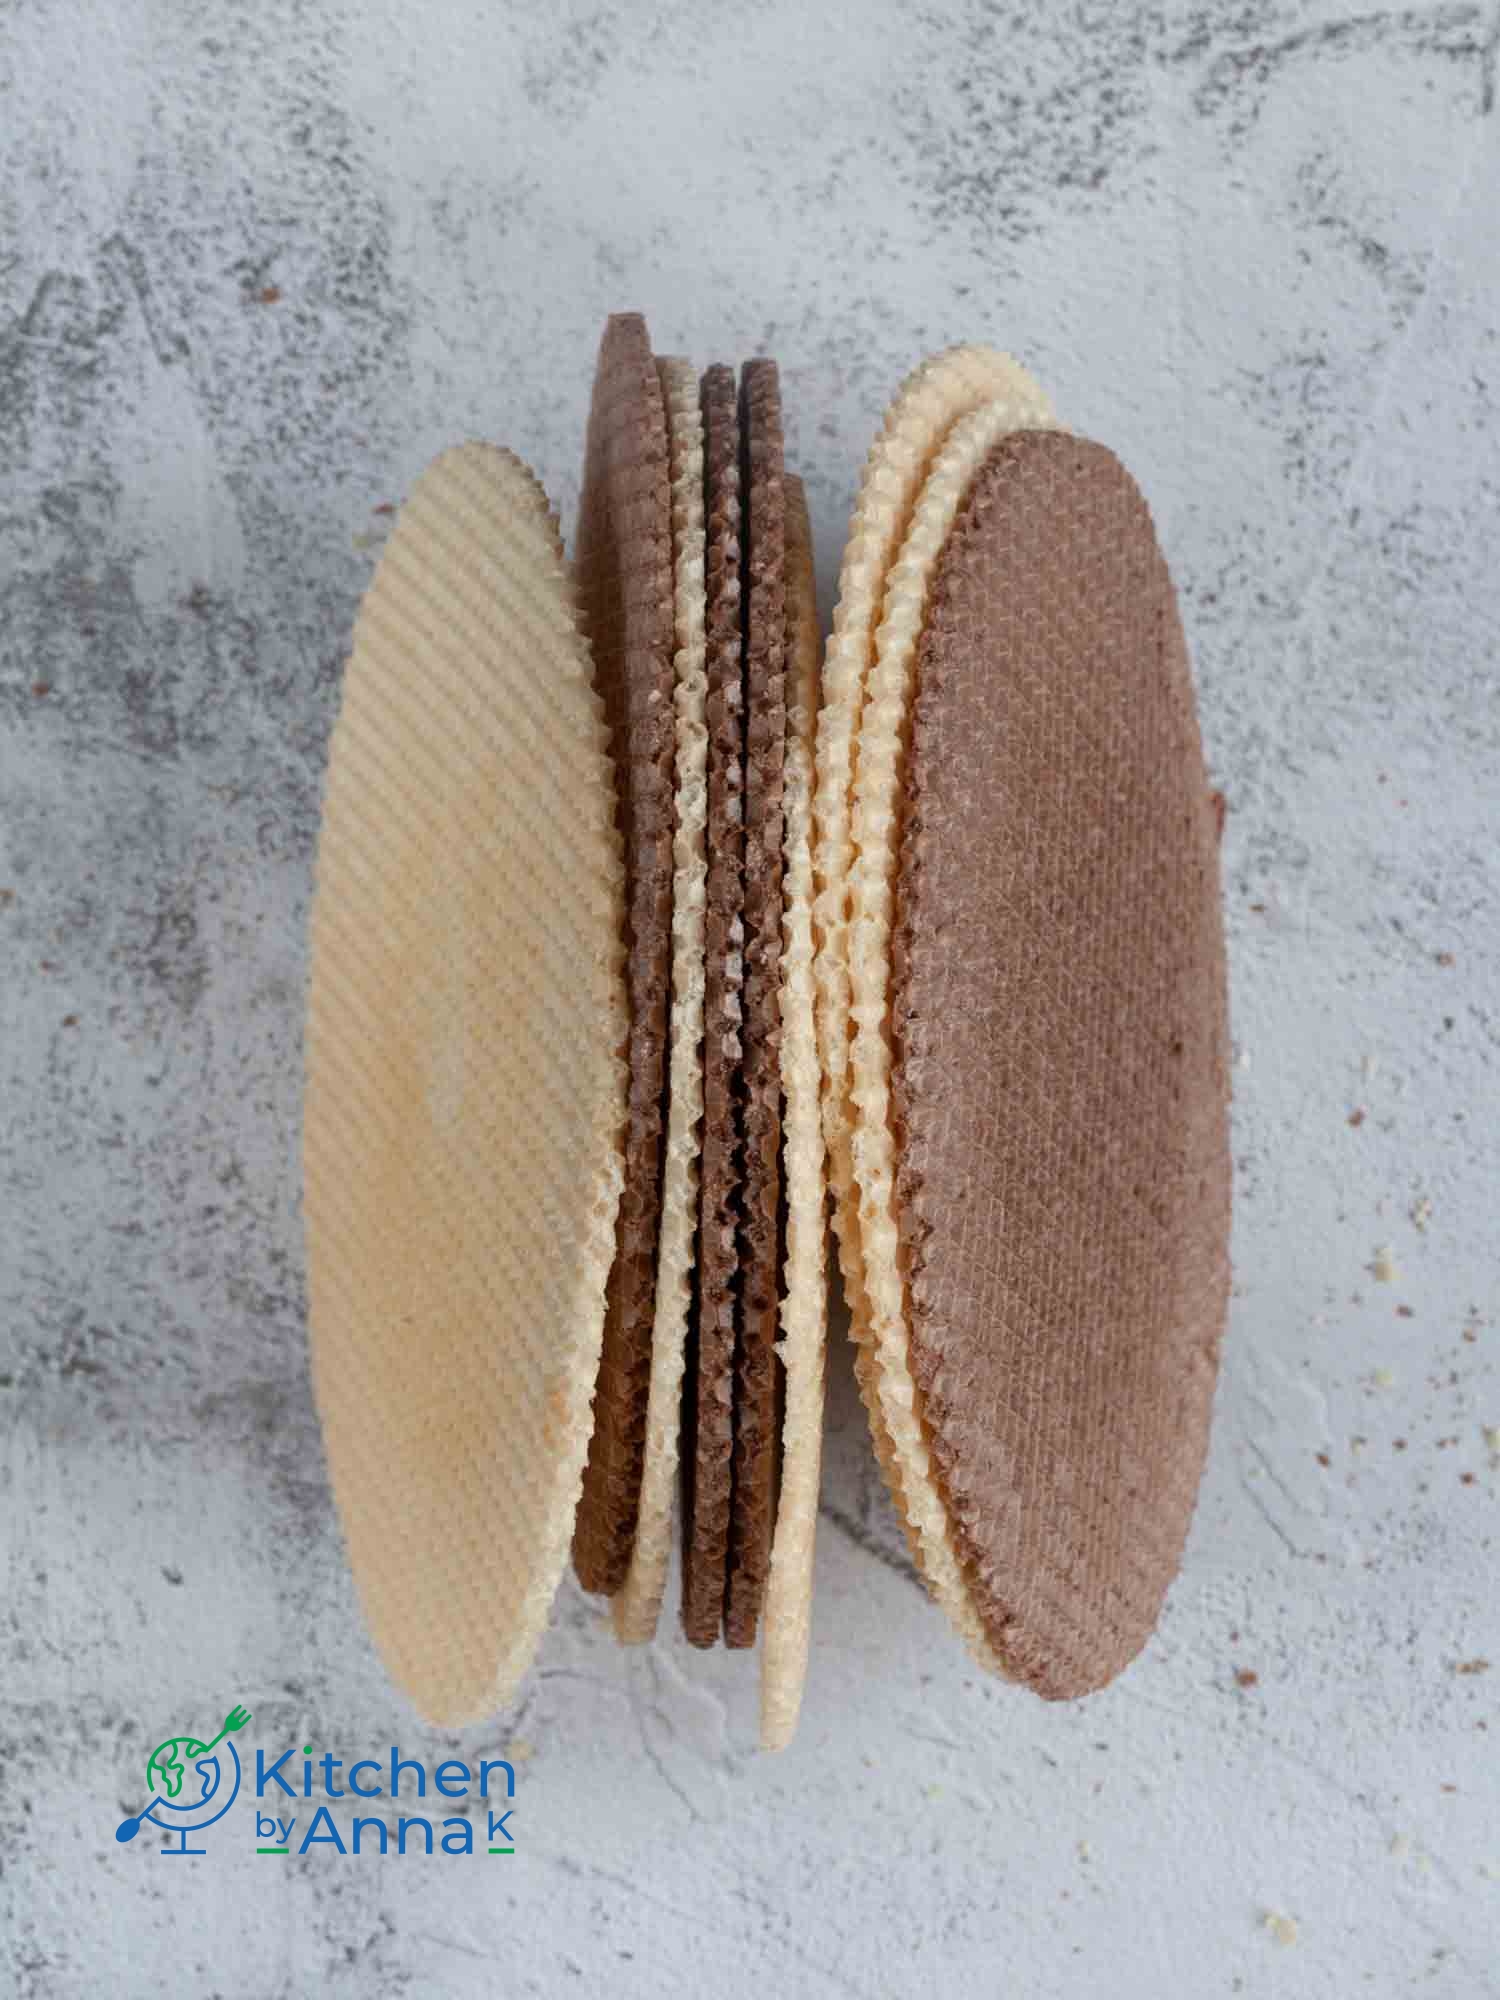
In order to make this no-bake coconut treat you need to but wafers. You can get the in a Polish or Eastern-European shop in your area. Alternatively try to search for it on-line. Polish wafers usually come in two shapes, round or square. You will need one pack of wafers to make this recipe. In Polish these wafers are called ‘wafle’ , ‘wafle tortowe’ or ‘andruty’. The name may vary depending on the company that made them.
Trust me, the visit will be worth the effort. Apart from the wafers (I would suggest you buy few packs of wafers), you can also buy a selection of sausages, vodkas, sweets. It is pretty much like a Polish food paradise!
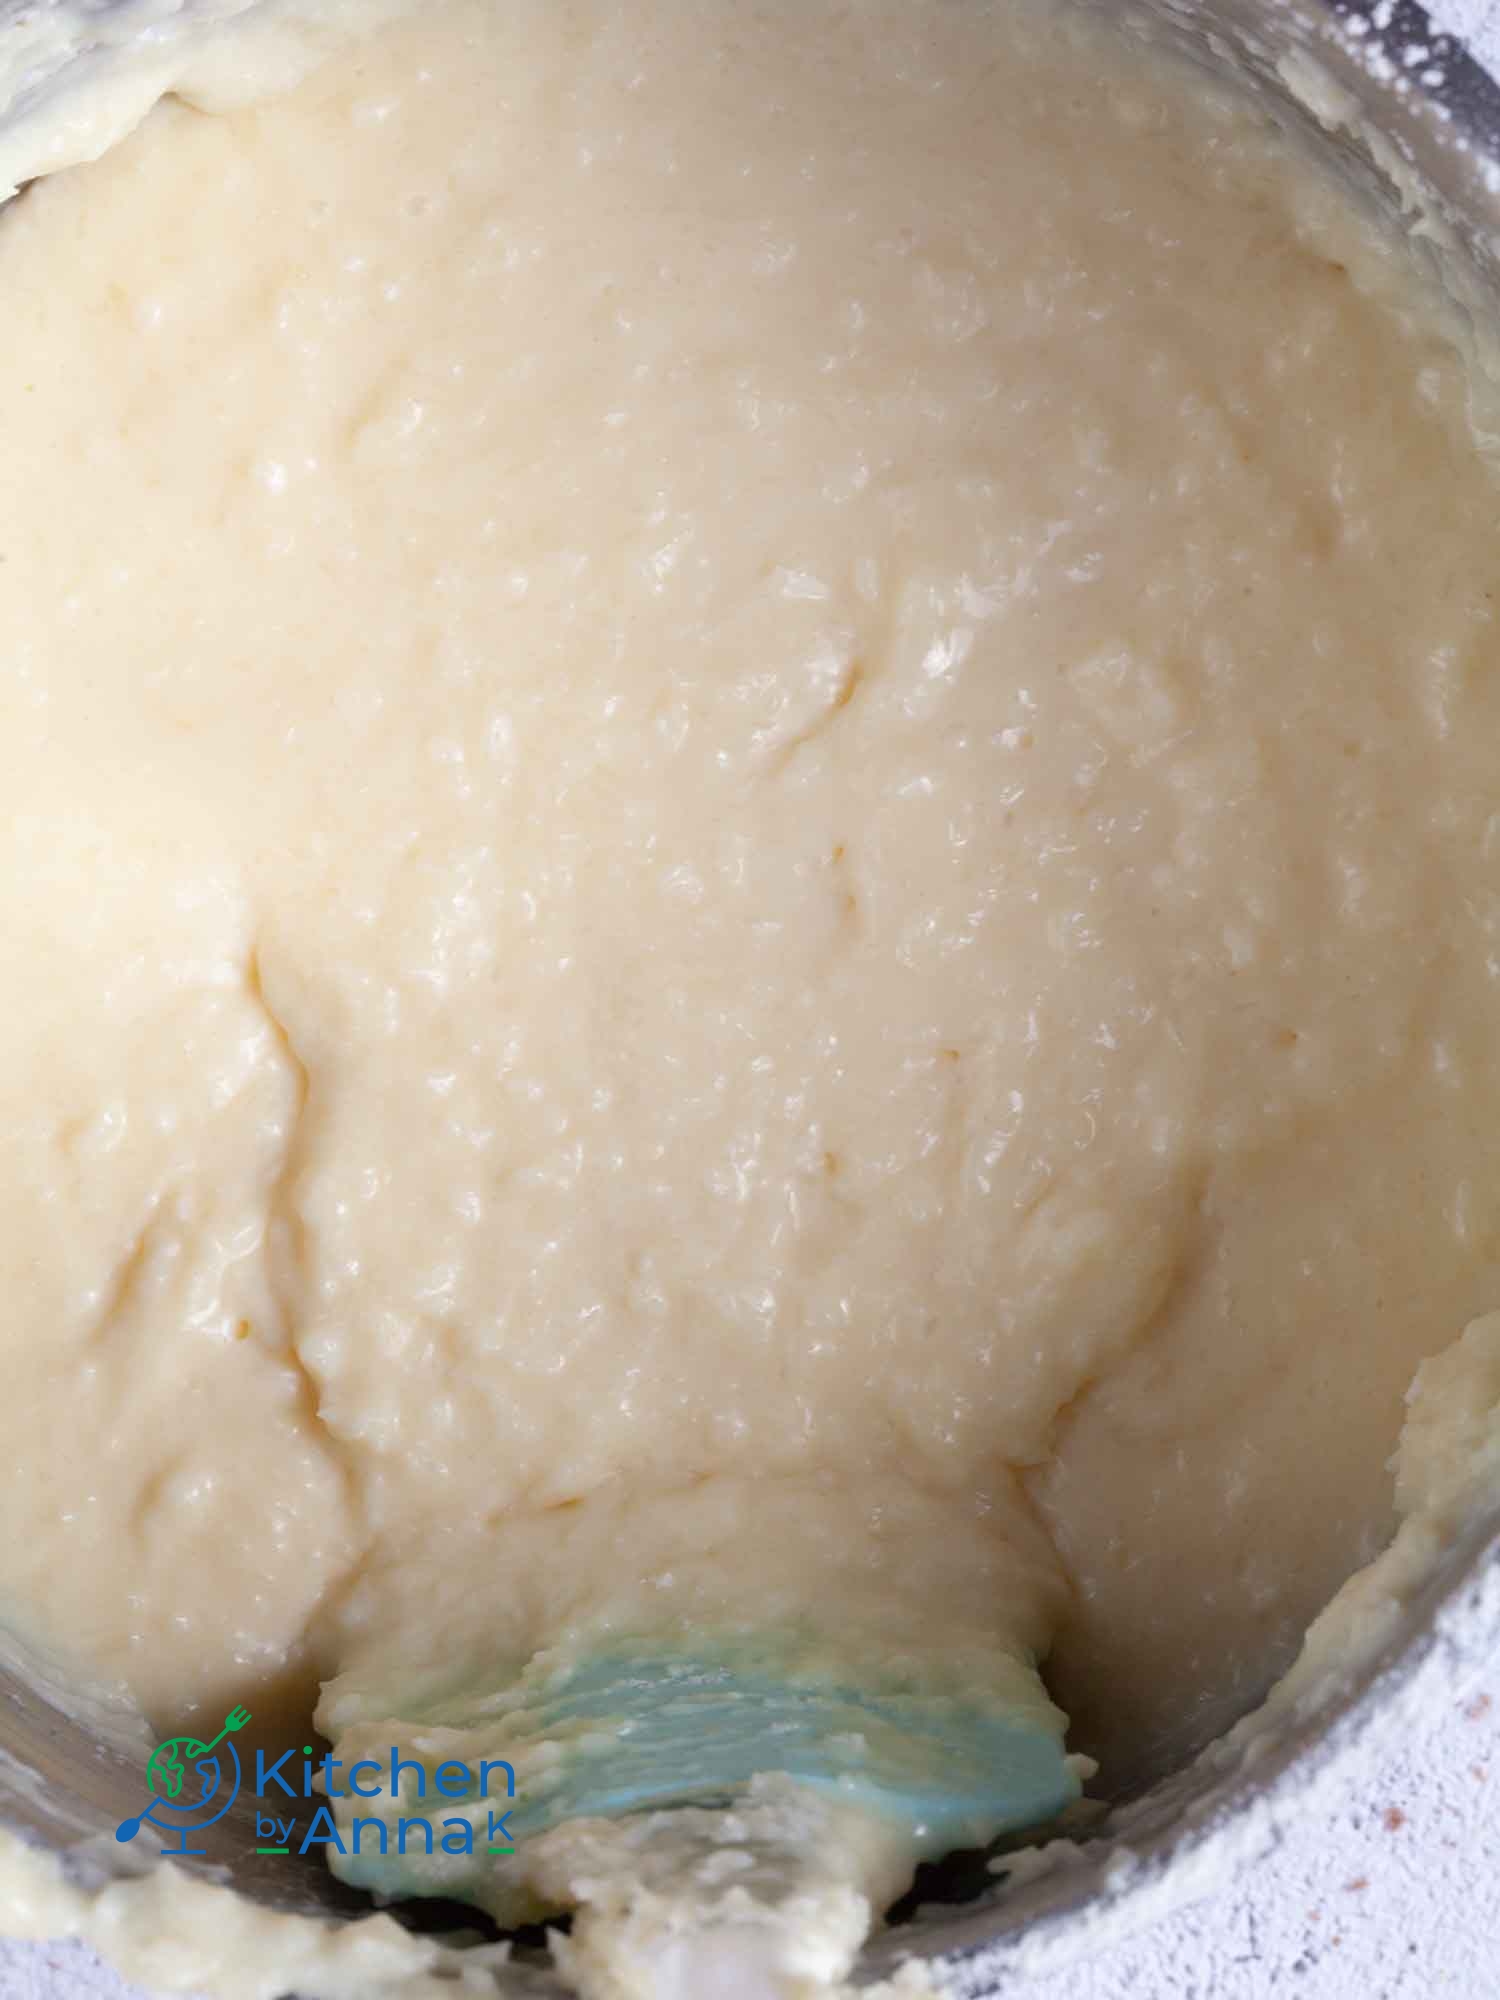
Then you need to make the filling. It is very easy. You need to add all the ingredients into a medium pot (apart from the powdered milk and lemon juice). Bring it to boil, mix for few minutes and let the mixture cool down a little bit. Next you need to add powdered milk. I would recommend using a flat spatula as it will help you to get rid of any lumps. At the end add lemon juice, stir and let the mixture cool down completely before spreading on wafers.
TIPS:
- I would recommend using a full fat milk.
- This recipe uses a standard desiccated coconut (unsweetened). This is what my Mum is always using. Many people are asking if they can use coconut flour instead of desiccated coconut. I have not tested it and I would not recommend this substitution.
- It may take some time to get rid of all the powdered milk lumps but the effort will be worth it. Just keep breaking the lumps with spatula.
- The ratios of ingredients are perfectly balanced to to obtain the best consistency. This recipe makes one portion of filling to go with one pack of wafers.
- The wafers are the best the next day.
What does Polish coconut wafers taste like?
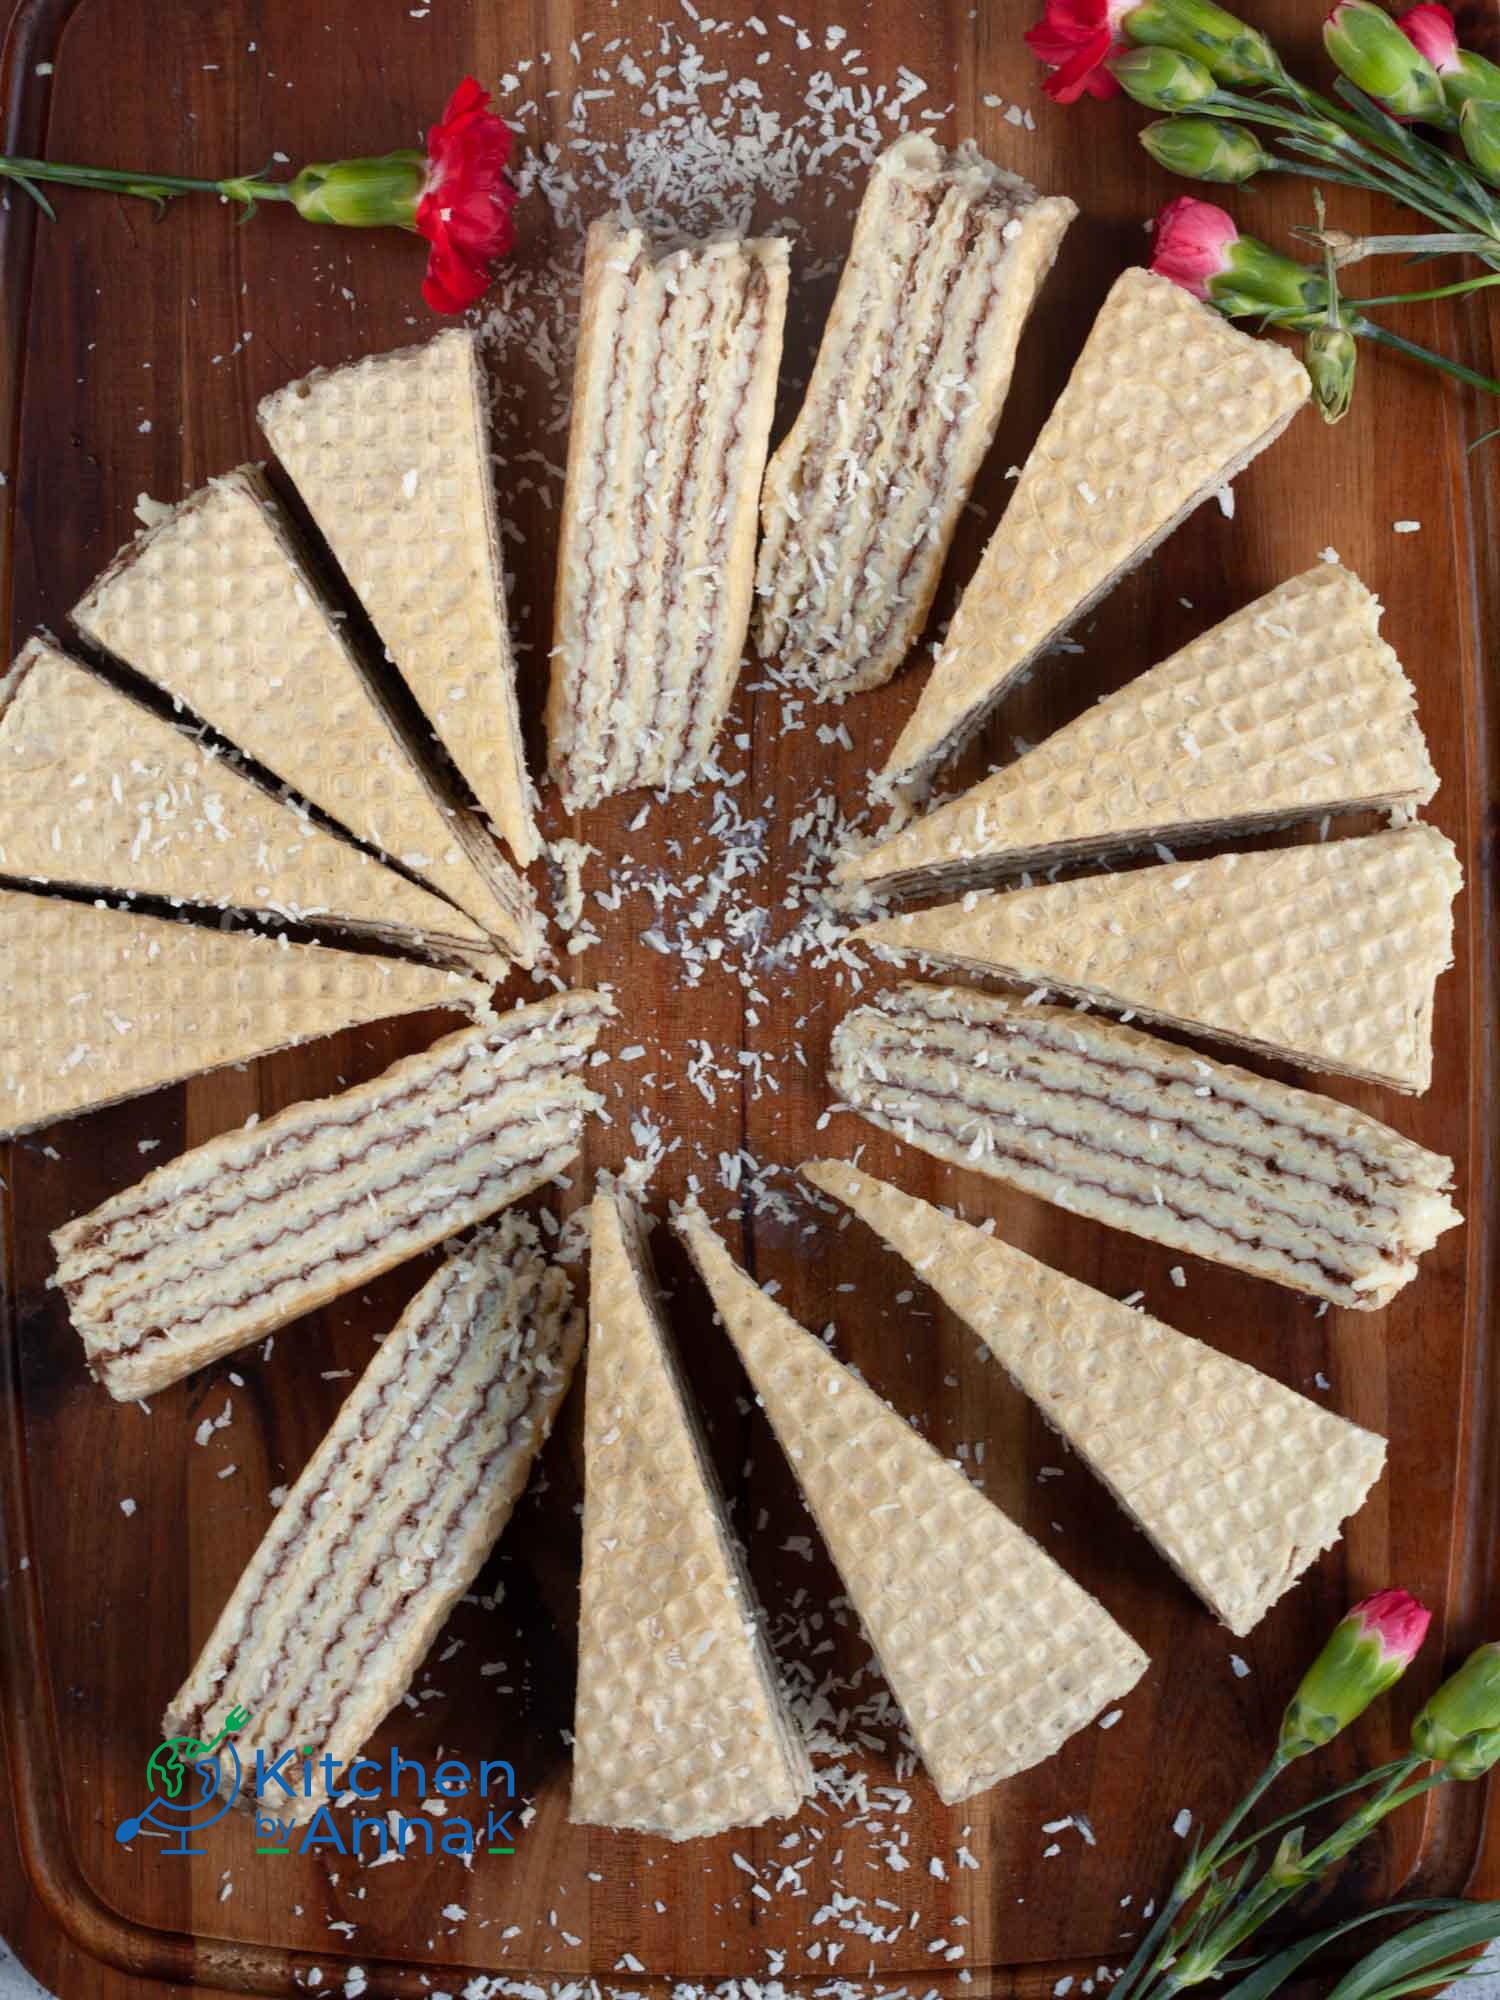
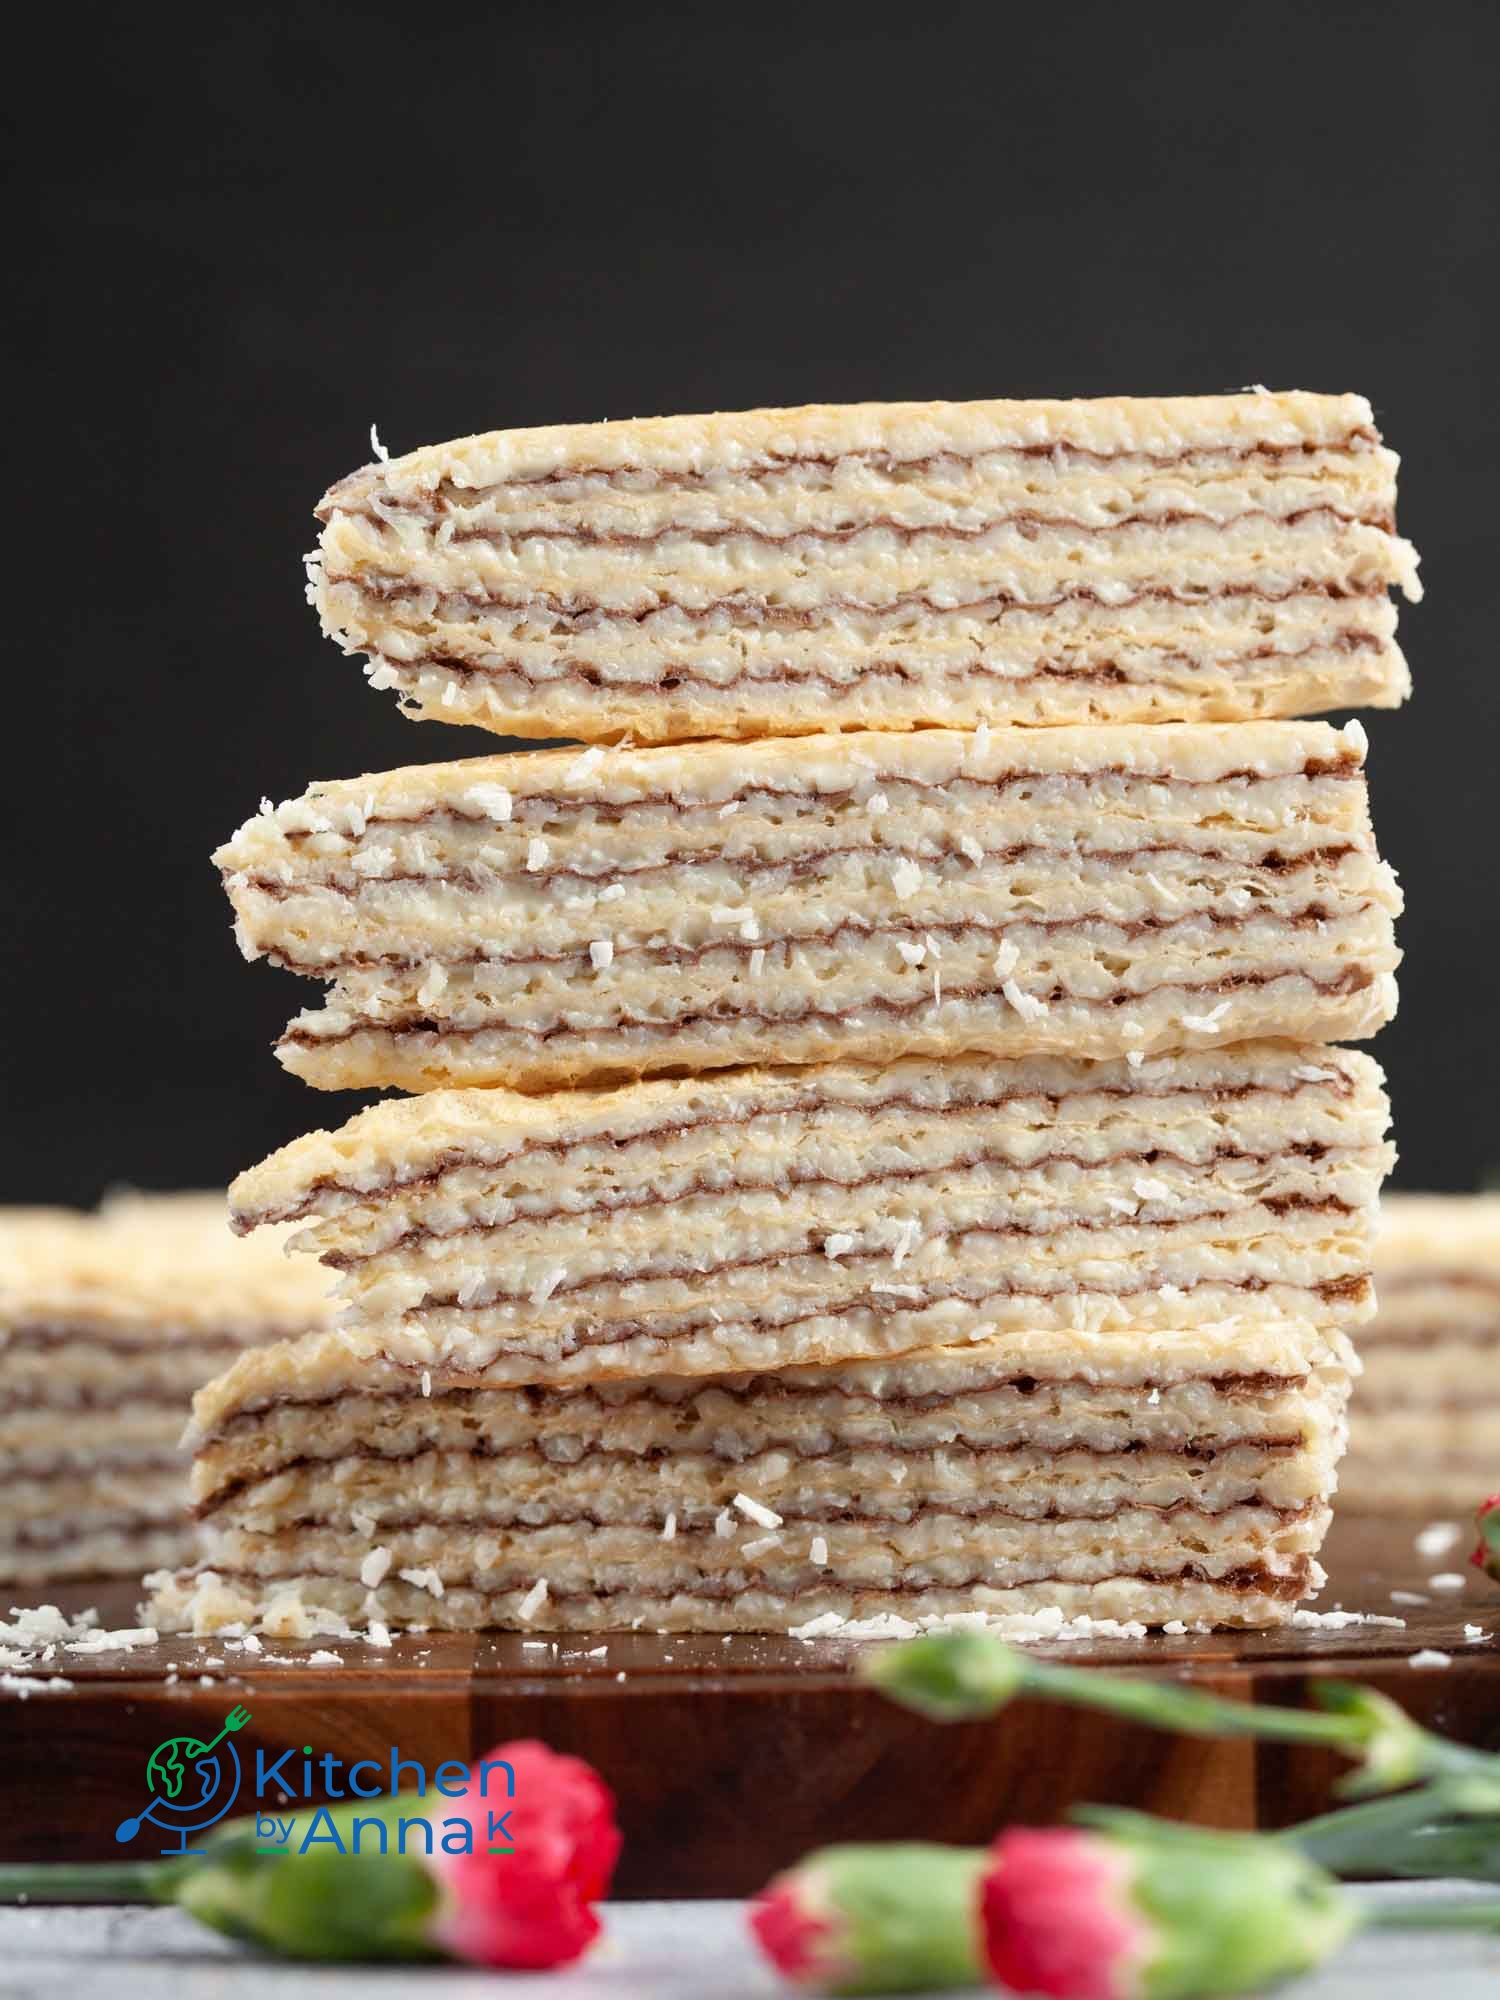
The flavour of the frosting is immensely addictive. It is milky and coconutty. Honestly I can not describe it. You need to try it on your own. The texture of wafers is soft and chewy.
How to store Polish coconut wafers
The best way to store this dessert is to cover it in a cling film or in an aluminium foil. It should prevent any moisture from getting in. Store it in a fridge for up to two weeks. I do not recommend freezing these wafers.
If you are looking for more recipes with coconut, I can recommend you the following:
Brown butter coconut and chocolate chunks cookies
Bounty cookies – coconut and chocolate cookies
Click this link if you want to see all my recipes with coconut
I hope you will make my recipe and if you do, please leave a comment below and let me know your feedback. You can also find me on social media such as Facebook, Instagram, Pinterest, Gab and Gettr. Please say hi and do not forget to tag me in if you make my recipe. I love seeing your creations.
Recipe source – this is the original recipe from my Mum’s notebook.
Smacznego!
Polish coconut wafers

Ingredients
Instructions
-
In a medium pot add butter, sugar, milk and coconut, mix everything together and cook on a medium heat until butter and sugar melts. Bring to boil. Keep stirring for 5 minutes and let the mixture cool down for 20 minutes.
-
When the mixture is ready, grab a sieve and partially add powdered milk. After adding each portion of powdered milk, mix well and and try to get rid of any clumps. Use a flat spatula to fold in powdered milk and break any milk lumps on the side of the pot.
-
When you add all powdered milk to the mix, add lemon juice. Mix well.
-
Now, let the mixture to cool in room temperature. It should take about 40min to up to an hour. The mixture has to cool completely (but still should be be soft enough) before you spread it on the wafers.
-
IMPORTANT: if you spread warm mixture on your wafers, the wafers will become very soft. Which if fine if you do not mind eating soft wafers.
-
Cover ready wafer with a cling film and place some heavy item, eg. a baking tin and 1 kg of sugar on top of the wafer. This will help the filling and wafers to stick together. Ideally it should be done for at least eight hours or overnight.
-
The wafers are the best the next day.
-
Store wafers in a fridge covered in a cling film or foil. Wafers are good to eat for about two weeks. I do not recommend freezing wafers.