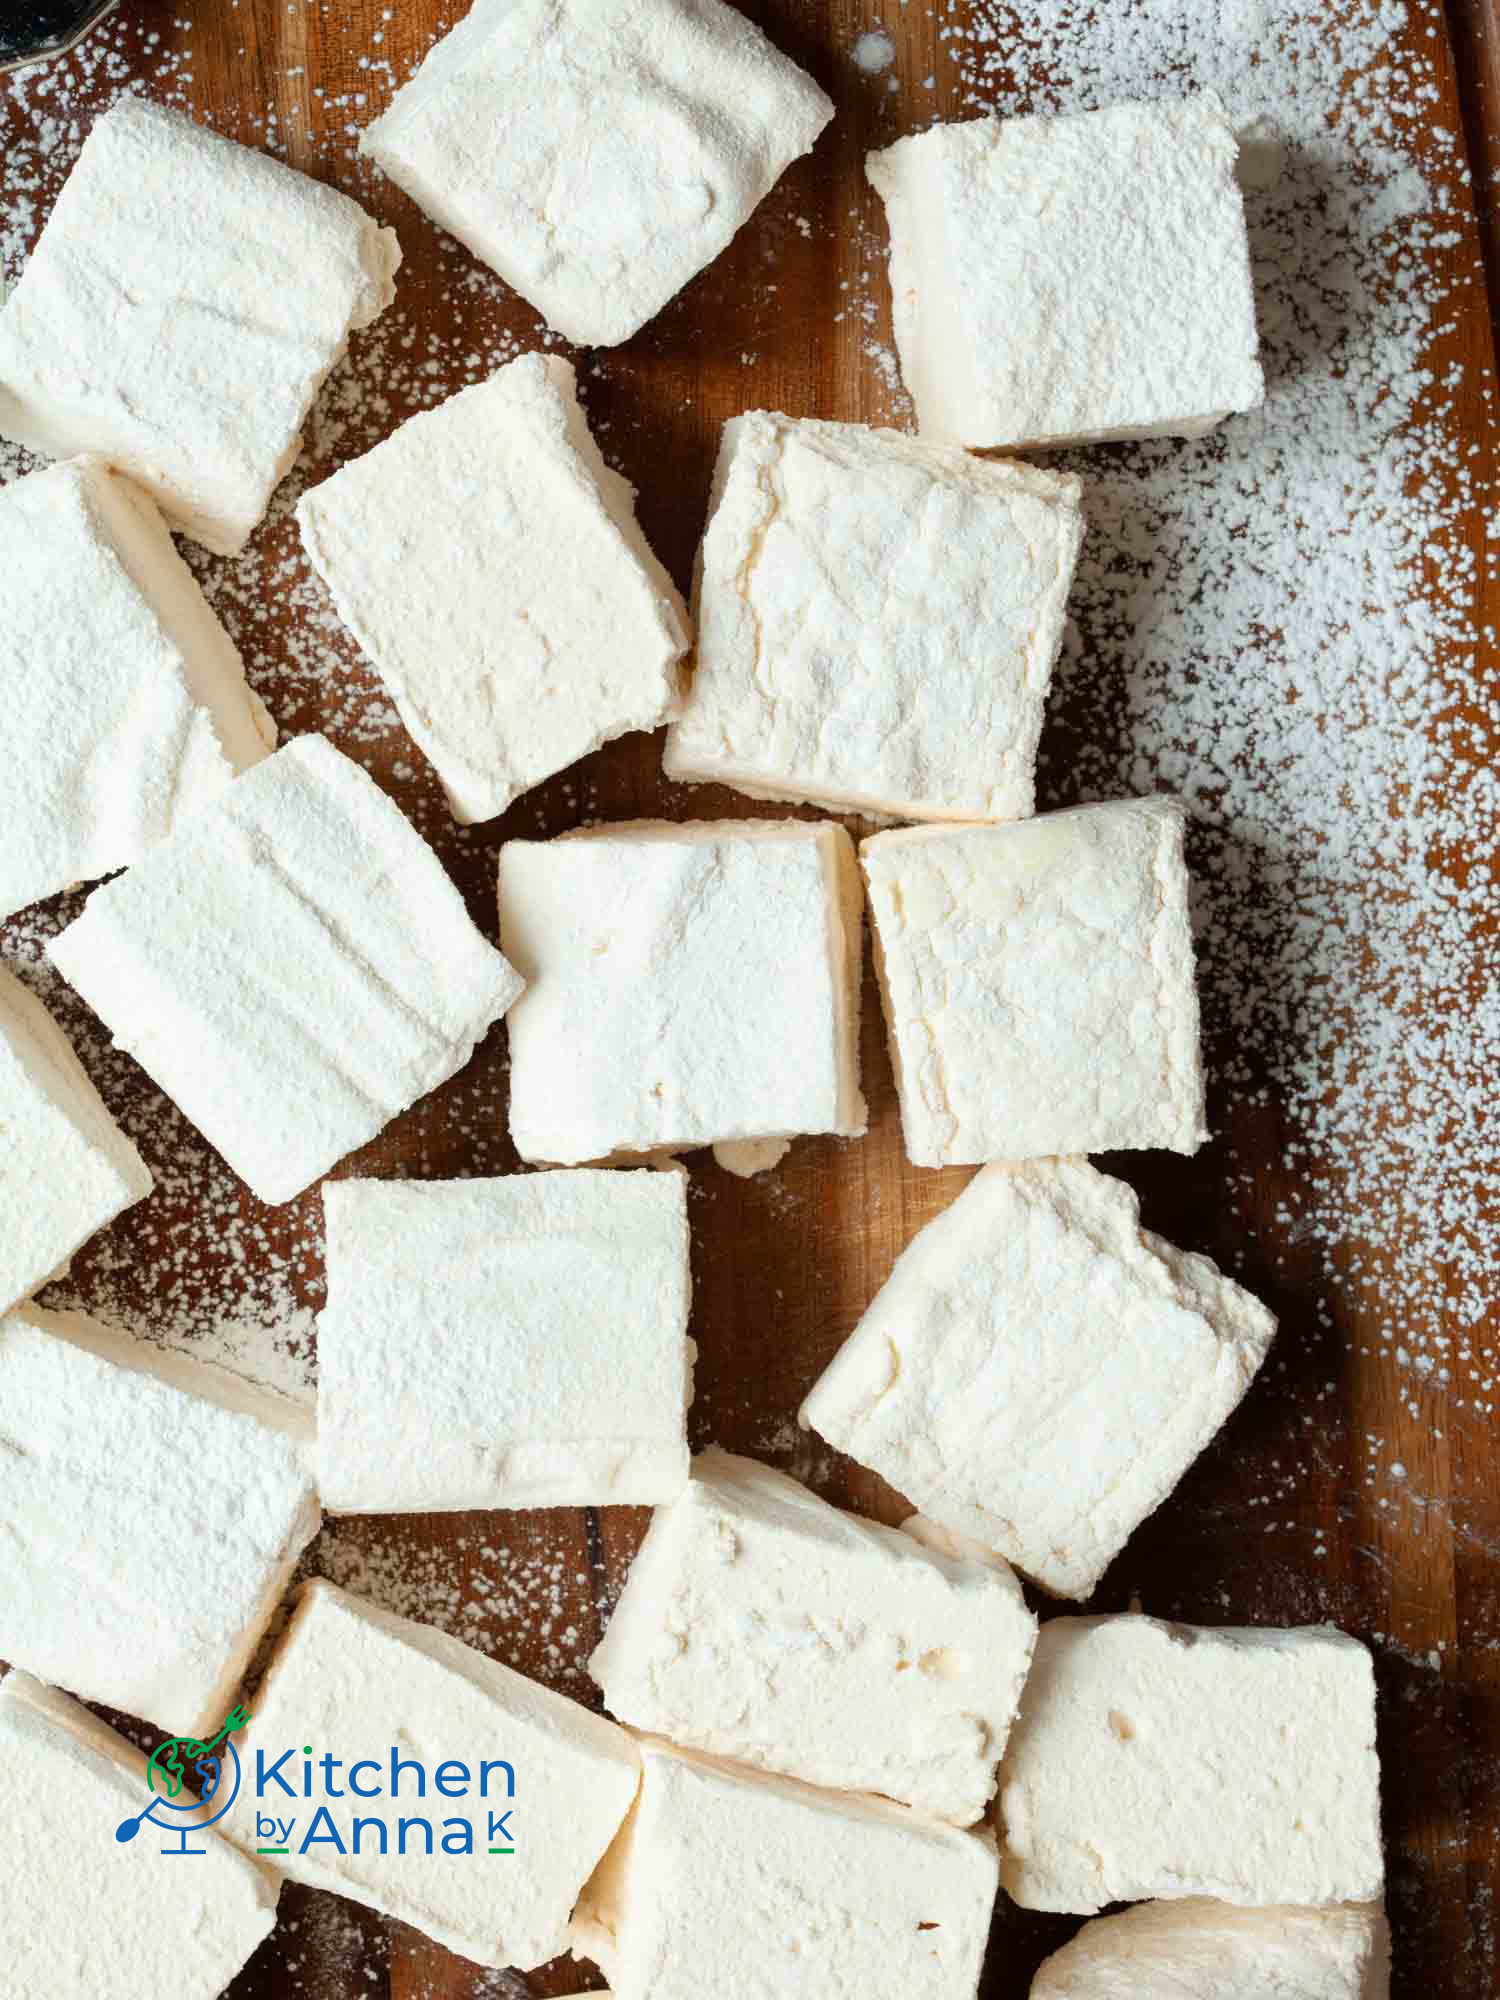
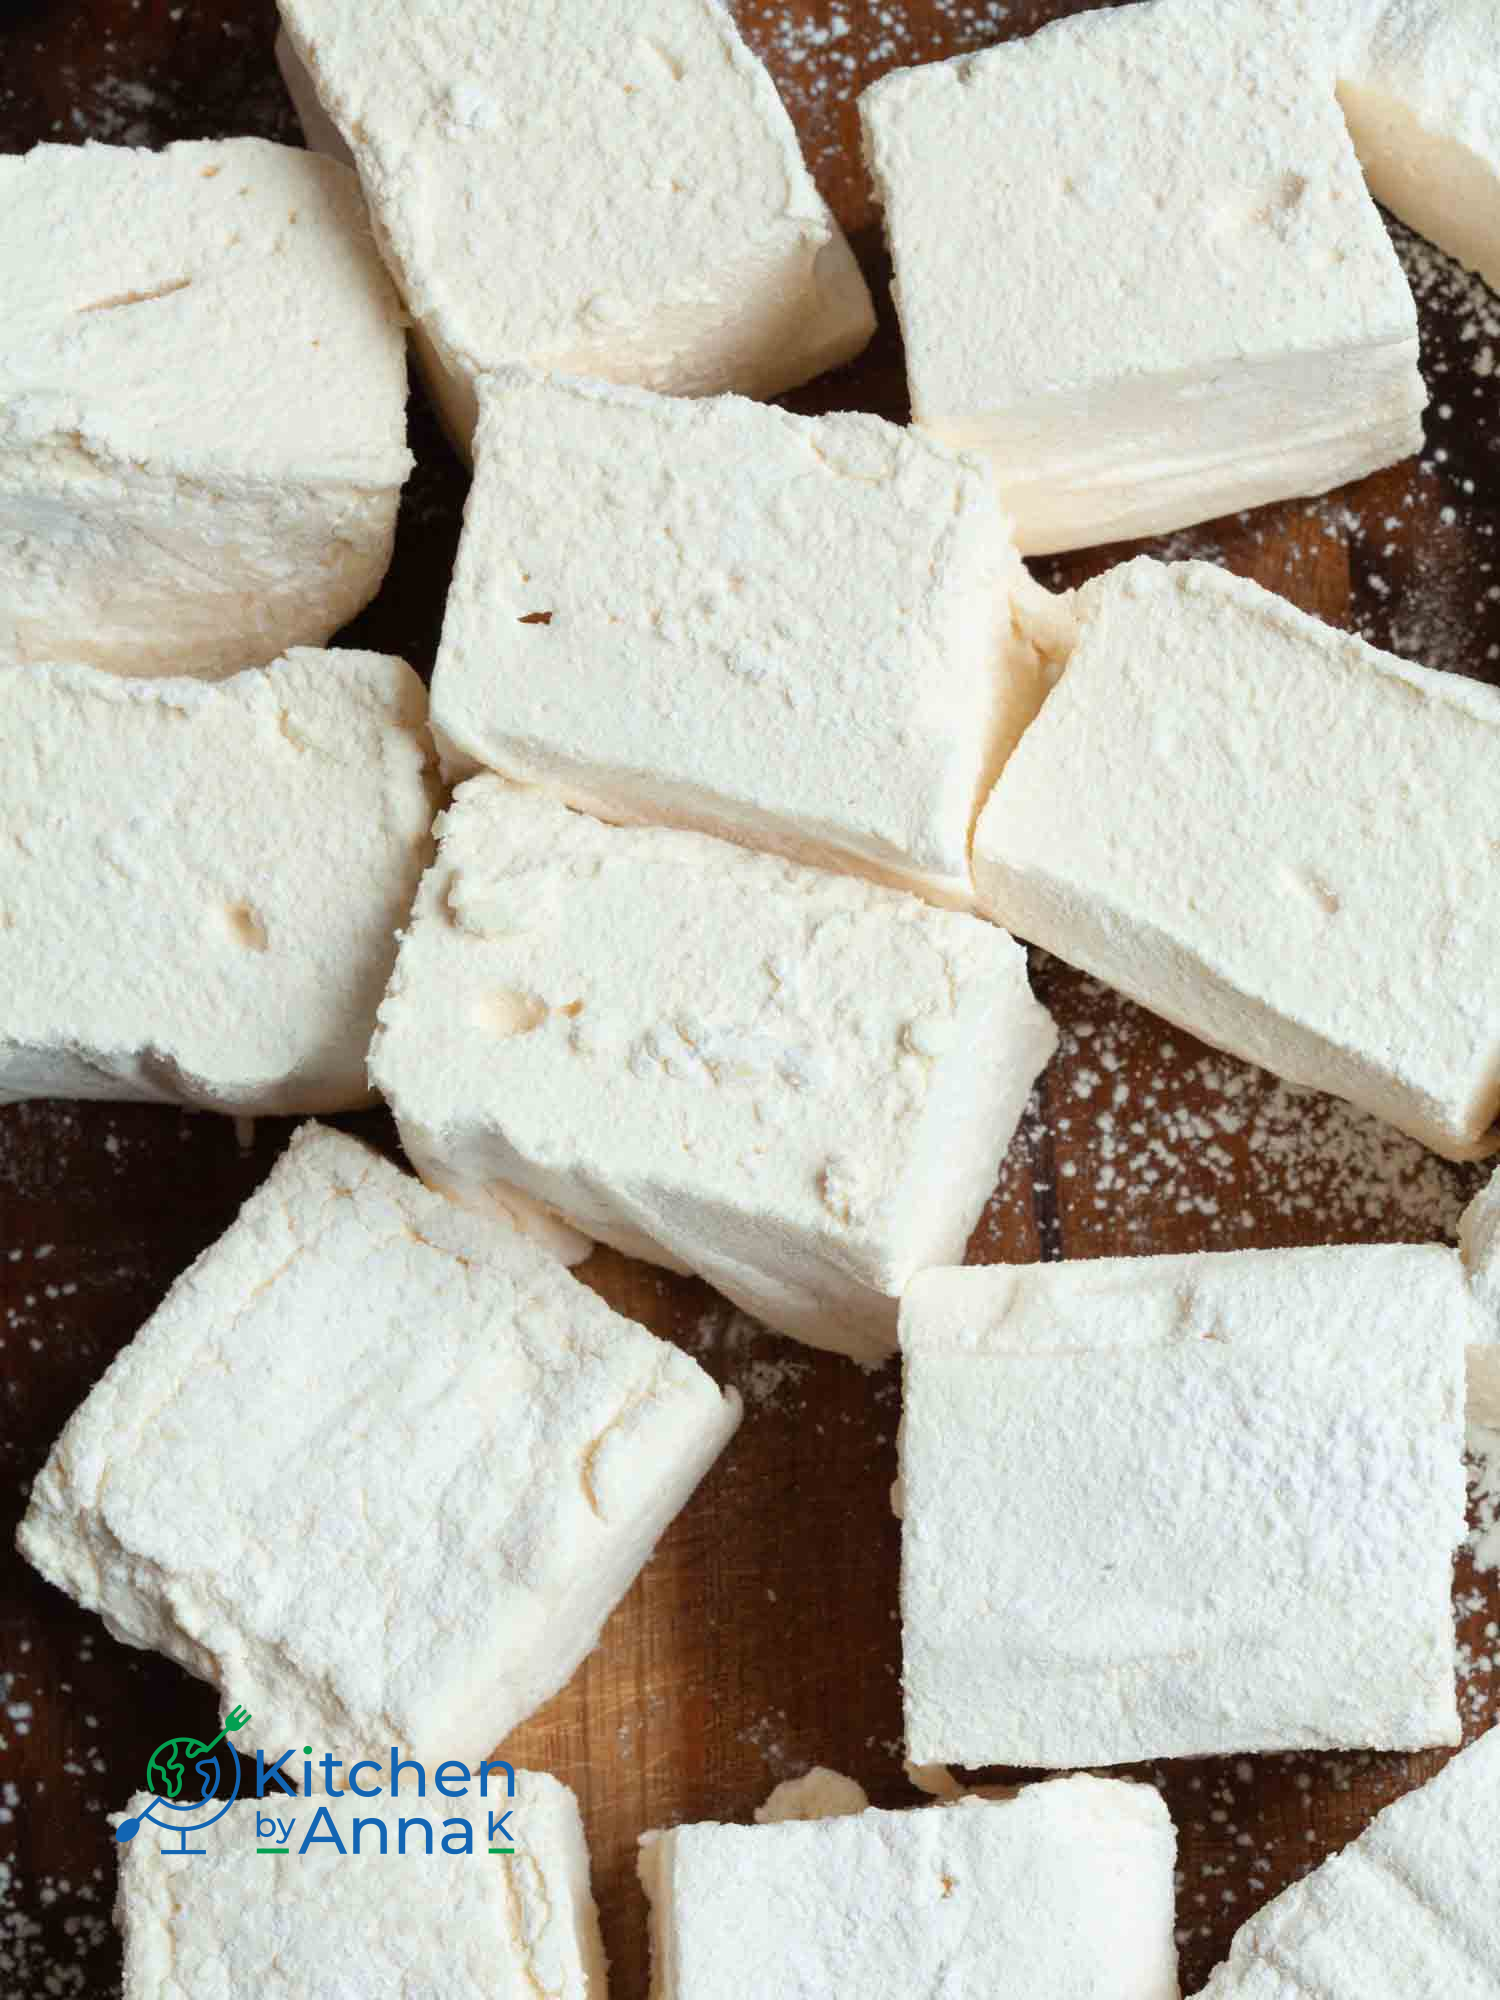
Who would have thought that making homemade vanilla marshmallows can be that easy? Fluffy, light, spongy with incredible vanilla flavour. This recipe for homemade marshmallows will win your heart.
I was always intimidated by marshmallows. The idea of making them at home seemed to be tiresome and complicated, well, no more bad ideas. I tried making marshmallows and I am hooked, it is so easy and effortless. I hope you will give it a try as well.

How to make homemade vanilla marshmallows
In order to make marshmallows you need to follow the bellow steps:
- Bloom gelatine in water first. It means mixing gelatine with water and leave it for about 10 minutes. I use cold water.
- Make sugar syrup. Mix water, granulated sugar and golden syrup in a deep pot. Heat the mixture up and boil until the sugar mixture reaches 118C/ 244F.
- Pour hot syrup to the bloomed gelatine and mix on high speed for about 10 minutes until the mixture becomes fluffy.
- When the mixture is ready, pour it to the prepared tin and let it set for at least 8 hours, ideally overnight.
The above are the basics step for making homemade vanilla marshmallows, but there are some TIPS you should read in order to get the best results:
- You will be dealing with hot sugar syrup so make sure that you cover your arms and body as sugar can splatter.
- I would recommend using a kitchen thermometer or a sugar thermometer to make sure that sugar syrup reaches the required temperature, so called soft ball stage.
- Make sure you are using a deep pot to boil sugar syrup in. The mixture will boil and foam a lot during the process.
- Prepare a container for your marshmallows. Please notice that marshmallows are very sticky so make sure you do these steps:
- Brush a flavourless oil inside the container, for example sunflower, rapeseed etc.
- Place a piece of cling film inside the container.
- Bloom gelatine for at least 10 minutes and do not use hot water. If you use hot water you will burn your gelatine and it will not work properly.
- Bringing sugar syrup to the required temperature will take about 15 minutes – be patient.
- When you pour hot sugar syrup to the bloomed gelatine it will look like a soupy mess but it is ok. It will take at least 5 minutes for the mixture to start fluffing up.
- Marshmallow mixture is ready when it is thick and fluffy.
- I use a stand mixer with a balloon whisk attachment to make my marshmallows. It takes me about 10-12 minutes to the mixture to be ready.
- Marshmallows need time to set. It takes at least 8 hours but I always leave them overnight at room temperature to set.
- As I mentioned before marshmallows are sticky and in order to cut them, take a long knife and brush oil on it. It will help with cutting.
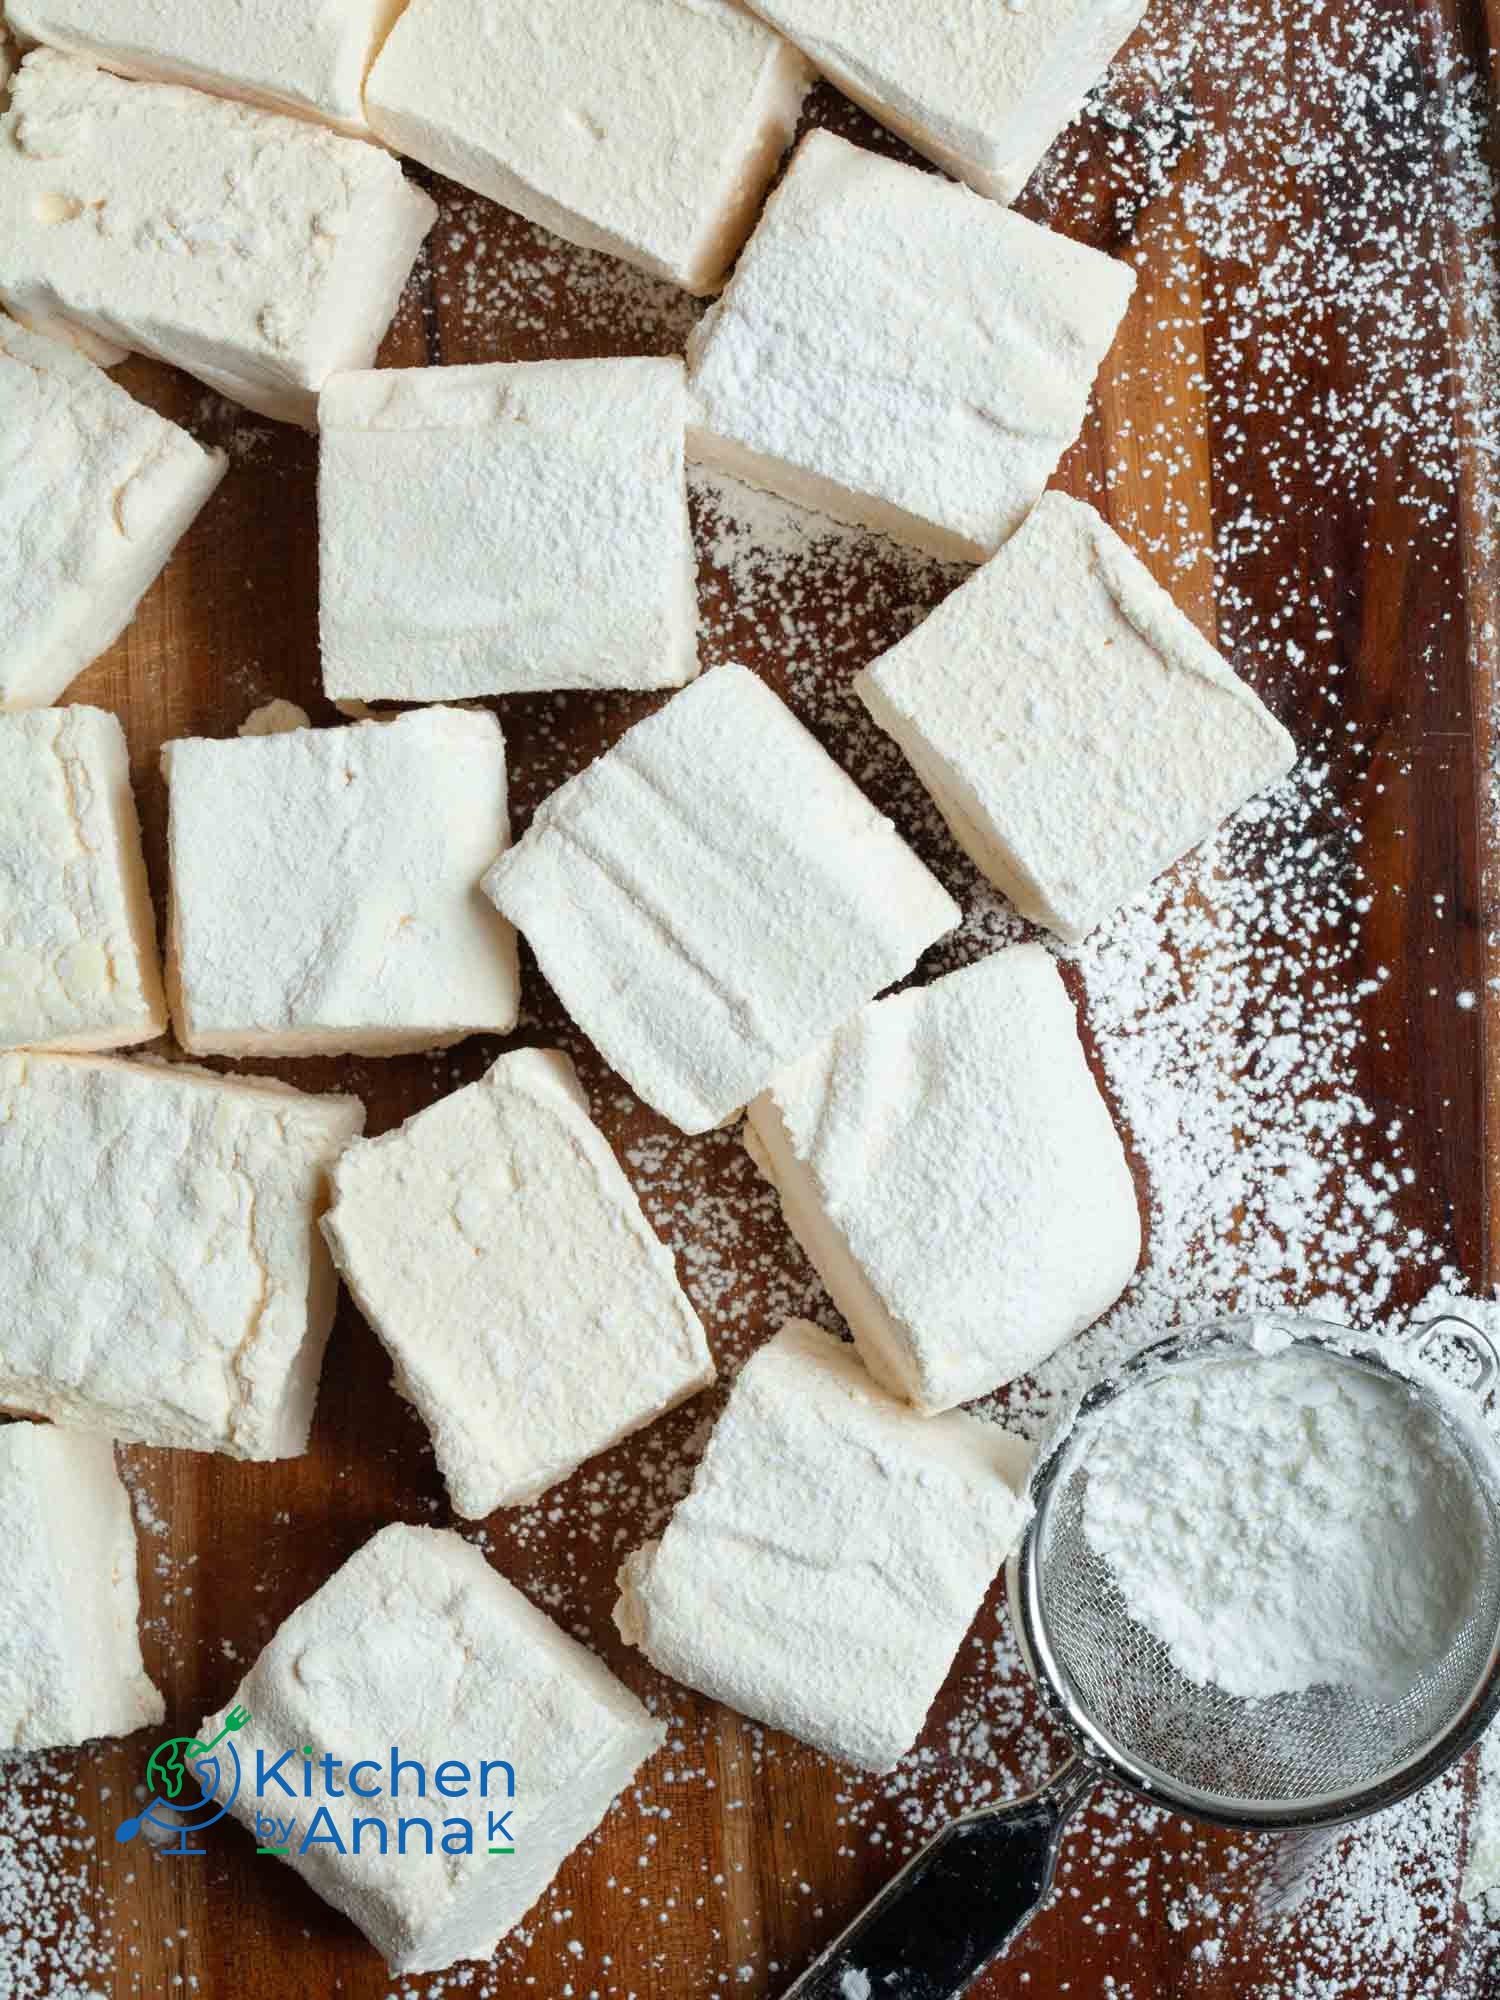
- The last step is to toss homemade vanilla marshmallows in a mixture of powdered sugar and corn flour. It will prevent these beauties from sticking together. The way I do it, I take a large sieve, place few marshmallows in it and sprinkle the mixture of sugar and flour on it. Then shake the sieve making sure each marshmallow is dusted. I place a large baking tin under the sieve to avoid a mess and to recycle the dusting mix. I used 1:2 ratio for my dusting mix 1-corn flour , 2-powdered sugar (icing sugar).

Substitutions and flavourings
This is the basic vanilla marshmallow recipe and I use the below ingredients to make it:
- White granulated sugar – normal beet sugar but you can also use cane sugar or brown sugar. It is totally up to you. Please notice that the flavour and the colour will be affected.
- Golden syrup – I am based in the UK and this is what I use. If you do not have golden syrup, feel free to use agave syrup, honey, maple syrup or corn syrup. Please notice that the flavour and colour may change.
- Gelatine – I used normal powdered gelatine in this recipe. I have not tried making this recipe with agar agar or gelatine in leaves. I think that agar gar will affect the texture and will make marshmallows less fluffy.
How to flavour marshmallows
- If you use extracts, always add them at the end when marshmallows are whipped up.
- I would avoid oil based flavourings as it may affect the texture.
- Apart from adding flavouring extracts, like vanilla, almond, peppermint, lemon, you can also add different spices. Try adding cinnamon, cardamom, chili etc.
- You can also add flavourings to the blooming stage, like cocoa or lemon curd but make sure to adjust the water content, so there is enough liquid for gelatine to hydrate. I will be sharing my recipe for chocolate marshmallows with cocoa in the bloom so make sure you check this recipe out.
- You can also ad flavour by sprinkling crushed cookies or chopped chocolate bars on top just make sure you do not add too much as marshmallows will deflate.
What do homemade vanilla marshmallows taste like?
These homemade vanilla marshmallows taste divine. They are sweet, bursting with vanilla flavour and sooo fluffy. I have never tried a marshmallow before that is so light and airy!

How to store homemade vanilla marshmallows
Store homemade marshmallows at room temperature in an air-tight container for up to 3 weeks. I do not recommend keeping marshmallows in a fridge as it may affect the texture. You can also freeze them for up to 6 months. Just place them in a zip-lock bag.
If you are looking for more marshmallow recipes, I can recommend you the following:
Click this link if you want to see the best recipes for homemade marshmallows
I hope you will make my recipe and if you do, please leave a comment below and let me know your feedback. You can also find me on social media such as Facebook, Instagram, Pinterest, Gab and Gettr. Please say hi and do not forget to tag me in if you make my recipe. I love seeing your creations.
Recipe source –my own
Enjoy!
Homemade vanilla marshmallows
A very easy recipe for fluffy and pillowy homemade vanilla marshmallows.

Ingredients
Instructions
-
Prepare a container, you are going to pour marshmallows into. Brush the inside with flavourless oil. Another option is to place a piece of cling film inside the container to prevent marshmallows from sticking.
-
Place 120ml water and gelatine in a big bowl and mix well for a minute and leave it for 10 minutes. Gelatine needs to bloom (hydrate).
-
In a deep pot add 120 ml water, golden syrup and sugar, mix well for a minute and from now on do not stir the mix! BE CAREFUL as sugar syrup will be very hot!!!
-
Heat up the pot and cook the sugar mixture on a medium flame for about 15 minutes. Sugar mixture needs to get to 118C/244F. Use a kitchen thermometer in this step. Please notice that the mixture will foam a lot this is why using a deep pot is important.
-
When sugar syrup reached the required temperature pour it slowly in the bowl with gelatin. Pour it slowly on the side of the bowl and start whisking on a slow speed. After adding all the syrup increase the speed on the highest speed. DO NOT stand next to the mixer as the mixture can splatter and it can burn your skin.
-
At the beginning the mixture will look like a soupy mess but after 5 minutes it will become lighter and start fluffing up. Keep whisking for about 10 -12 minutes.
-
The mixture is ready when it is very thick and fluffy. Now you can add vanilla and salt and whisk for another minute.
-
Now pour the mixture into the prepared oiled container and let it set for at least 8 hours. Ideally overnight.
-
When marshmallows are ready, take a long knife brushed in flavourless oil and cut marshmallows as you wish.
-
Take a large baking tin and sieve icing sugar and corn flour. Mix well.
-
Take a large sieve, add a couple of marshmallows and spoon the dusting mixture on the marshmallows. Shake the sieve making sure marshmallows are evenly covered.
